
 English
 中文简体
中文简体 русский
 عربى
عربىWhat Is Non Woven Interfacing? Uses, Types, and How to Apply
What non woven interfacing is (and why it matters)
Non woven interfacing is a stabilizing fabric made from fibers bonded together (rather than woven or knitted). Because the fibers are not arranged in a traditional grain, it behaves differently from woven and knit interfacing: it is typically easy to cut in any direction, quick to apply (especially in fusible form), and widely used to add structure to areas that need crispness or shape.
In practical sewing, interfacing is what turns a limp collar into a sharp collar, prevents a button placket from collapsing, and helps bags and pouches keep their form. Non woven options are popular because they are inexpensive, consistent, and available in many weights.
Non woven vs woven vs knit interfacing
Choosing the wrong interfacing is one of the fastest ways to get bubbling, distortion, or a stiff “cardboard” feel. The key differences come down to how each type interacts with your fabric’s stretch and drape.
- Non woven: No true grain; generally stable; good for crisp structure, plackets, facings, crafts, and many bag applications.
- Woven: Has grain like fabric; best when you want interfacing to “move” the same way as the fashion fabric (ideal for tailored garments).
- Knit: Stretchy; designed for knits so seams and edges stabilize without killing stretch (common in t-shirts, knit dresses, and jerseys).
A useful rule of thumb: if your outer fabric is very drapey or has a pronounced grain behavior (like linen or suiting), woven interfacing often blends better; if you need quick, reliable structure, non woven is frequently the most straightforward option.
Common types of non woven interfacing
Fusible (iron-on) non woven
Fusible non woven interfacing has heat-activated adhesive dots (or a full coating) on one side. It is popular for garments and crafts because it is fast and keeps layers aligned during sewing. Quality varies: better products fuse evenly and resist bubbling after washing.
Sew-in non woven
Sew-in non woven interfacing has no glue; it is stitched into the seam or secured with understitching/topstitching. It is often chosen for delicate fabrics (e.g., sheer or heat-sensitive materials) and for situations where you want to avoid potential adhesive show-through.
Specialty non wovens
- Water-soluble / tear-away stabilizers: common in embroidery and appliqué rather than garment shaping.
- Hair canvas alternatives: heavier, denser non wovens for craft structure or budget tailoring, though traditional tailoring often favors woven canvases.
How to choose the right weight (practical guide)
Most non woven interfacing is sold by “light/medium/heavy,” but thinking in approximate weight helps you choose more consistently. Many brands fall into these ranges: light: 30–50 gsm, medium: 60–90 gsm, heavy: 100–150 gsm (values vary by manufacturer).
| Weight range (gsm) | Feel / support level | Best uses | Avoid when |
|---|---|---|---|
| 30–50 | Soft, minimal change | Facings, lightweight collars/cuffs, delicate plackets | When you need crisp edges or firm structure |
| 60–90 | Balanced, versatile | Shirt plackets, waistbands, pocket flaps, structured facings | Very sheer fabrics (glue may show) |
| 100–150 | Firm, shape-holding | Bags, hats, craft projects, strong collars/cuffs | Drapey garments where stiffness would look unnatural |
A quick selection checklist
- Match the goal: crisp edge, gentle support, or firm structure.
- Compare hand-feel: interfacing should usually be equal to or lighter than the fashion fabric for garments (bags can handle heavier).
- Test for show-through: on light colors or sheers, pick sew-in or a very light fusible.
- Consider laundering: choose a quality fusible and fuse correctly to reduce bubbling after washing.
How to apply fusible non woven interfacing without bubbles
Most adhesion problems come from rushing: sliding the iron, using too little pressure/time, or trapping steam/air. Use this method for clean fusion.
- Pre-test on scraps: check for shine, shrinkage, or glue strike-through. If your fabric is prone to shrink, pre-wash it; some makers also pre-shrink interfacing with steam, but always test first.
- Place adhesive side to fabric: the glue side usually feels slightly rough or dotted.
- Use a pressing cloth: protects fabrics and reduces scorching risk.
- Press, don’t iron: set the iron down, apply firm pressure, lift, and move. Avoid dragging (dragging can shift layers and create ripples).
- Time + heat matter: many fusibles bond well around 10–15 seconds per area at a medium heat setting, but follow your product guidance and your fabric’s heat tolerance.
- Let it cool flat: adhesive sets as it cools; moving it hot can cause bubbles or edge lift.
If you see bubbles after cooling, the cause is often insufficient heat/pressure/time or moisture trapped during fusing. Re-press with a cloth and steady pressure, allowing full cool-down.
Where non woven interfacing works best (real sewing examples)
Shirt plackets and button areas
A classic use is reinforcing the button stand so it stays flat and resists stretching. A medium-weight non woven fusible often gives enough body so buttonholes stitch cleanly and the placket doesn’t ripple.
Collars and cuffs
For crisp collars, choose a weight that supports the collar shape without making it feel stiff against the neck. If your collar points look limp, moving up one weight class is frequently more effective than adding extra topstitching alone.
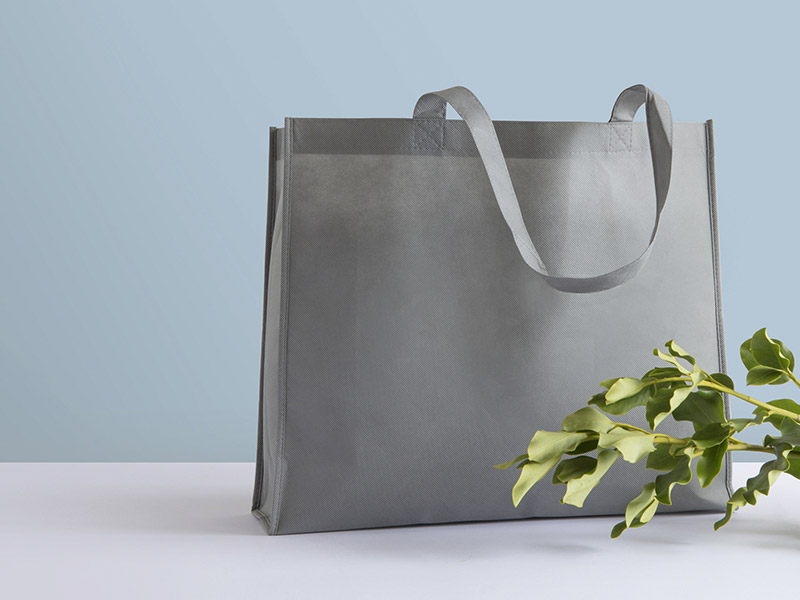
Bags, pouches, and fabric organizers
Heavy non woven interfacing is widely used in crafts to add stand-up structure. For a pouch that should hold a boxy shape, combining a firm interfacing with a lining can create a stable “shell,” especially when seams are topstitched.
Facings and necklines
Light non woven interfacing can prevent a neckline facing from collapsing while keeping the garment’s drape. When you want the facing to behave predictably (no stretching, no rolling), non woven is often a dependable choice.
Troubleshooting: common non woven interfacing problems
Bubbling or “puckers” after fusing
- Cause: not enough heat/time/pressure, or fabric/interfacing shrink at different rates.
- Fix: re-press with a cloth using firm pressure; ensure a full cool-down flat; pre-test for shrinkage compatibility.
Interfacing shows through on the right side
- Cause: interfacing is too heavy, glue dots imprint, or fabric is sheer/light.
- Fix: choose a lighter weight, use sew-in, add an interlining layer, and avoid high heat that can emboss texture.
Area feels stiff or “papery”
- Cause: weight too heavy for garment use, or doubled layers where not needed.
- Fix: drop one weight class, interface only the necessary area, or switch to woven/knit for a softer hand.
The most reliable practice is a scrap test: fuse, cool, flex the fabric, and then wash/dry once if the project will be laundered. That single test often prevents the “why is my collar bubbling?” surprise later.
Care, durability, and safety notes
Non woven interfacing can be durable, but long-term results depend on correct fusing and how the finished item is cleaned. Heat-activated adhesives generally tolerate normal laundering when fully bonded, while repeated high heat (hot dryers, very hot ironing) can weaken some bonds over time.
- For washable garments, prioritize a product labeled washable and fuse thoroughly; partial bonding increases the odds of edge lift.
- For heat-sensitive fabrics (synthetics, coated materials), use a lower temperature approach and press cloth; if fusing risks damage, choose sew-in.
- Keep the iron clean: stray adhesive can transfer to future projects; a pressing cloth is a simple preventative step.
If you only remember one durability rule: proper fusing plus full cool-down is what keeps non woven interfacing stable through wear and washing.


